If you have an old or dead battery in your vehicle, you’ll need to replace…
1 January, 2023
0 Comments
1 category
Removing a car battery can be intimidating, but you can do it yourself with a few simple tools as long as you do so safely. All that is required is to uncouple the battery terminals and unfasten any battery casings.
The battery can then be cleaned, recharged, or replaced.
Here are the tools and steps of how to remove a car battery in the safest manner possible.
Tools Required
Before you start to disconnect a car battery safely, make sure to have these essential tools on hand to make your job easier and quicker:
- Protective gloves (preferably some kind of rubber insulation gloves)
- Protective glasses
- Pliers
- Socket set
- Screwdriver
- Some grease (sprayable is fine)
- Anti-corrosion spray (or you can make your own corrosion mix with water and baking soda)
- Some rags to clean up the area
Removing car batteries is a simple process, but it will be much harder if you don’t have the right tools.

https://pixabay.com/photos/gloves-tools-protection-1192164/
Preparation
When performing any kind of maintenance on your vehicle, you want to make sure you have the right setup. This will help you get the job done safely.
When removing the battery, you are dealing with a very high voltage, and there are a few additional safety measures you should take.
- Make sure the car is parked on a flat surface so that the battery is sitting completely level. If the car is tilted, it can make it more difficult to remove any connections and then remove the battery safely.
- Ensure that the area you are working in, all your tools, and the engine bay of the vehicle are completely dry. The last thing you want is water and electricity to mix.
- Keep the garage door open or work in an open space. Batteries give off gas which can be dangerous, so you want plenty of ventilation while you work on the battery.
- Take off any metal jewelry or anything else that is conductive.
- Open the windows of the vehicle and/or open the door on the driver’s side. In some cars, the vehicle will automatically lock all the doors when the battery is disconnected.
- Make sure your parking brake is engaged, and the vehicle is parked in the correct gear (‘P’ for automatic cars and 1st gear for manual cars).
Removing the Battery
Here is a step-by-step process for you to remove the battery from the car properly.
Step 1
- Begin by opening the front 2 windows of the vehicle and also opening the driver’s side door. This way, if the vehicle were to lock automatically, you would still have access to it.
- Switch off the engine and remove the keys from the ignition.
- Give the car a few minutes so that all the electrical charge stored in the various circuits will be completely discharged.
- If you have been driving and just switched off the car, give the vehicle at least 20 minutes to cool off properly. Open up the hood and let the engine cool before you start work on it.
Step 2
- Don your protective equipment—gloves and safety glasses.
- Locate the battery.
- In most vehicles, the battery is in the engine bay, but in some models, it can be located underneath the rear seats or even in the trunk. If you don’t find the battery in the engine bay, consult the owner’s manual to find out where it is.
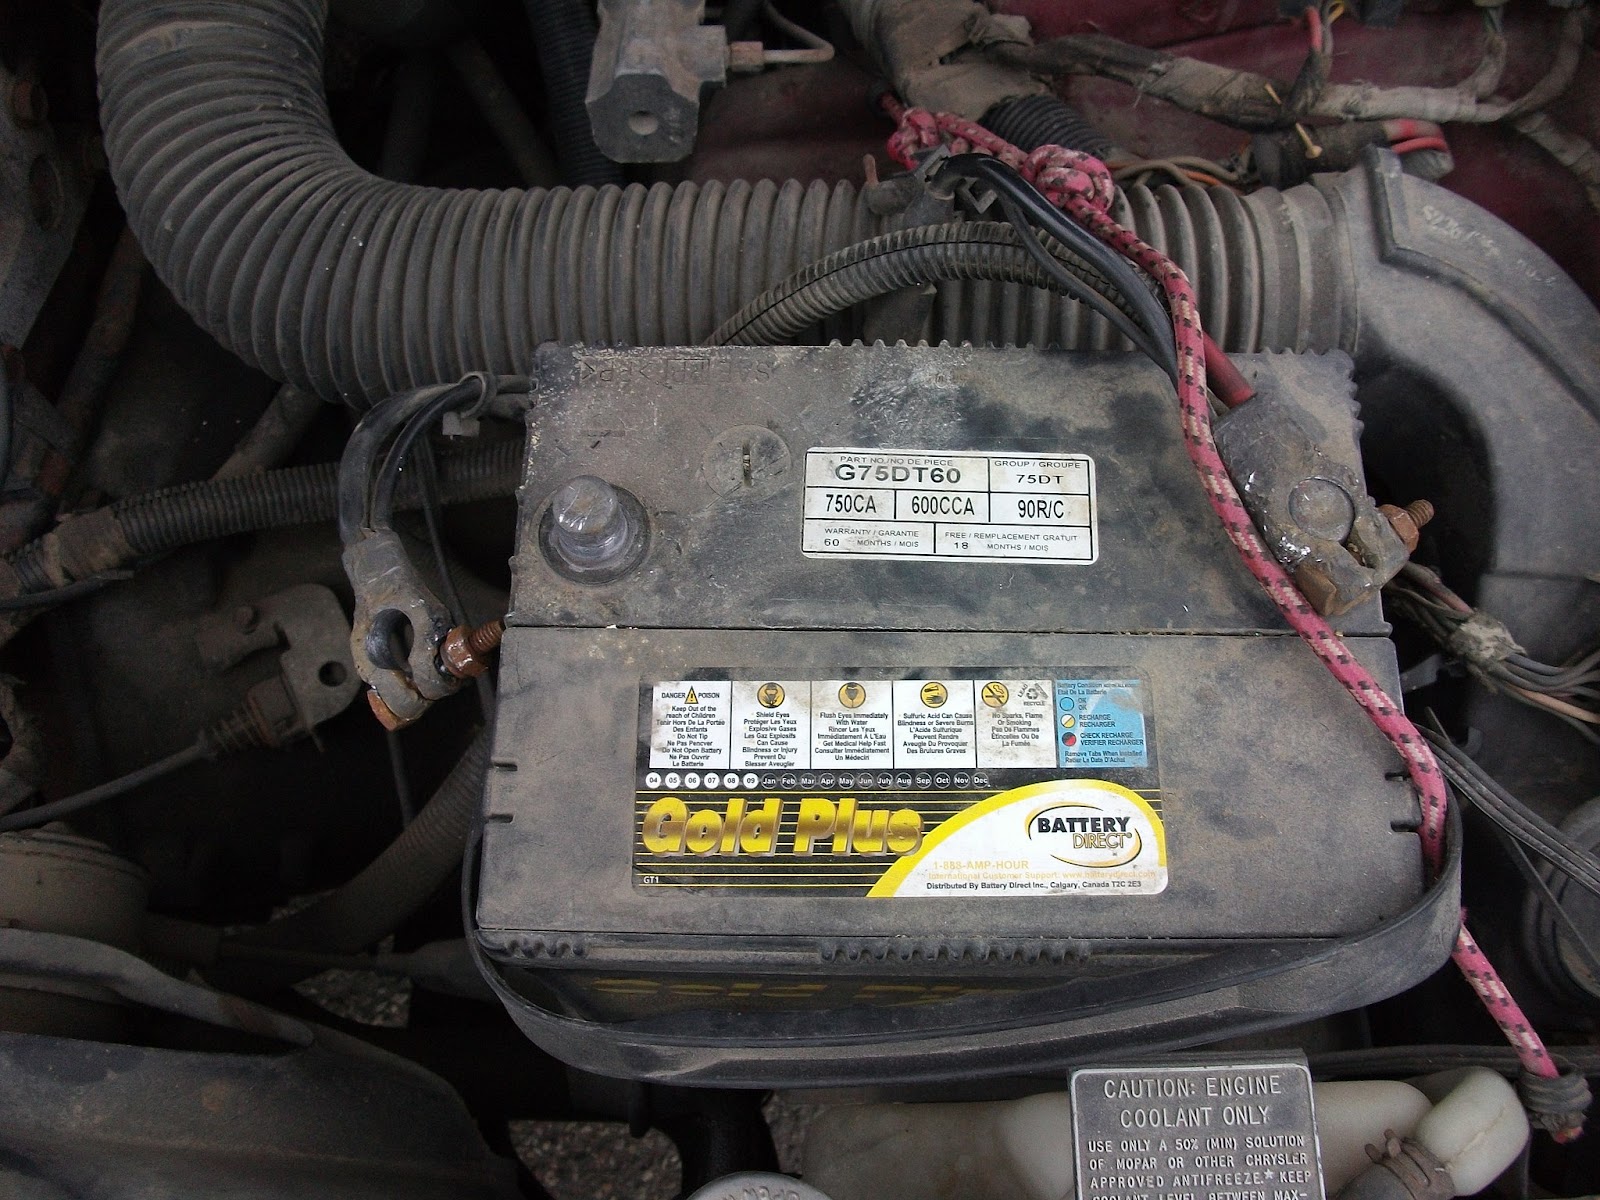
- The battery will be a rectangular box with a positive and negative battery terminal on top of it. If you have a flooded lead-acid battery, you will also see a row of screw caps on top of it.
The terminals (or just the positive terminal) will be covered with color-coded covers. The positive is always the red terminal, and the negative can be blue, black, green, yellow, or another color.
- You can determine whether a terminal is positive or negative by looking at the indication on the battery under that terminal. The red/positive terminal will have a plus ‘+’ sign next to it while the blue/negative terminal will have a minus ‘-’ sign next to it.
Step 3
- Once you have located the battery, open up the flaps that are covering the terminals and check the battery cables and connectors on the terminal. You are looking for any signs of rust, corrosion, exposed wires, or damage to these connection points.
- If you see any corrosion or rust, simply use the anti-corrosion spray you have or rub the terminal down gently with the water and baking soda mix you made. This will help remove some of the grime and make it easier to remove the terminal, which will prevent damage to the connector and the battery itself.
- After the treatments have been applied, use a rag to clear off as much of the dirt as you can so you have a dry surface to work on.
https://commons.wikimedia.org/wiki/File:Disconnect_negative_battery_cable_%284144787843%29.jpg
Step 4
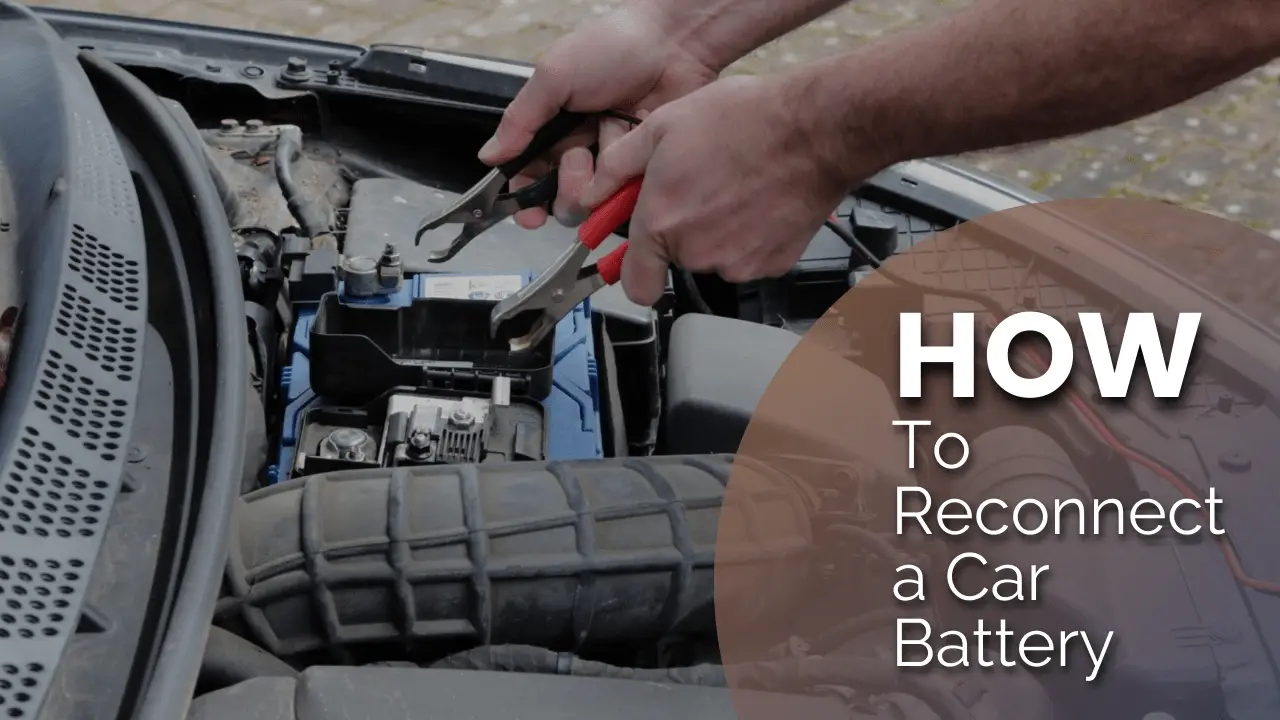
- After the connector points on the battery have been cleaned, you can start disconnecting it.
- Start with the negative terminal. The positive cable can still have some charge in it, and it can cause sparks. When you remove the negative cable first, it will release any of the charge present in the terminal and make the battery much safer to work with.
- The negative battery cable has a nut and bolt clamp that fastens a connecting band around the protruding terminal. Locate the nut on the band and start undoing the nut with some pliers or a socket set.
- The aim is to loosen the nut just enough so that the band opens up a bit and it can easily be removed from the terminal. You don’t have to take the nut off to open up the band completely. Usually, 2-3 counterclockwise turns will be enough to get this done.
If the nut shows a lot of resistance, apply some spray grease or anti-rust spray to help it come undone. You want to be gentle, as too much force can damage or even break the connector from the battery.
- When working on the terminals, be very mindful not to let your pliers or socket set touch both terminals at once. This can cause a lot of damage as it will complete the circuit from the positive to the negative terminal.
A good strategy is to cover the positive terminal with its flap when you are working on the negative and to cover the negative when you are working on the positive. If the battery doesn’t have terminal covers, use something else that isn’t conducive to protecting the battery from accidental contact.
Step 5
- Repeat the process from step 4 with the positive terminal.
- Once you have removed both connectors from the terminals on the battery, place them securely on a plastic surface in the car or let them hang in a way in which they won’t touch each other or any other metal in the engine bay.
Step 6
- The battery is nearly ready to come out. All you have left to do is remove the strap or metal brace holding the battery in place.
- In some vehicles, this will be a strap; in others, it can be a metal brace held in place by nuts. You will see a small metal strap running across the width of the battery. Locate the nuts on the brace and take those off completely.
- Now you can lift off the brace, and the battery will be completely accessible. If your car has a strap, simply undo the strap and remove it to gain access.
Step 7
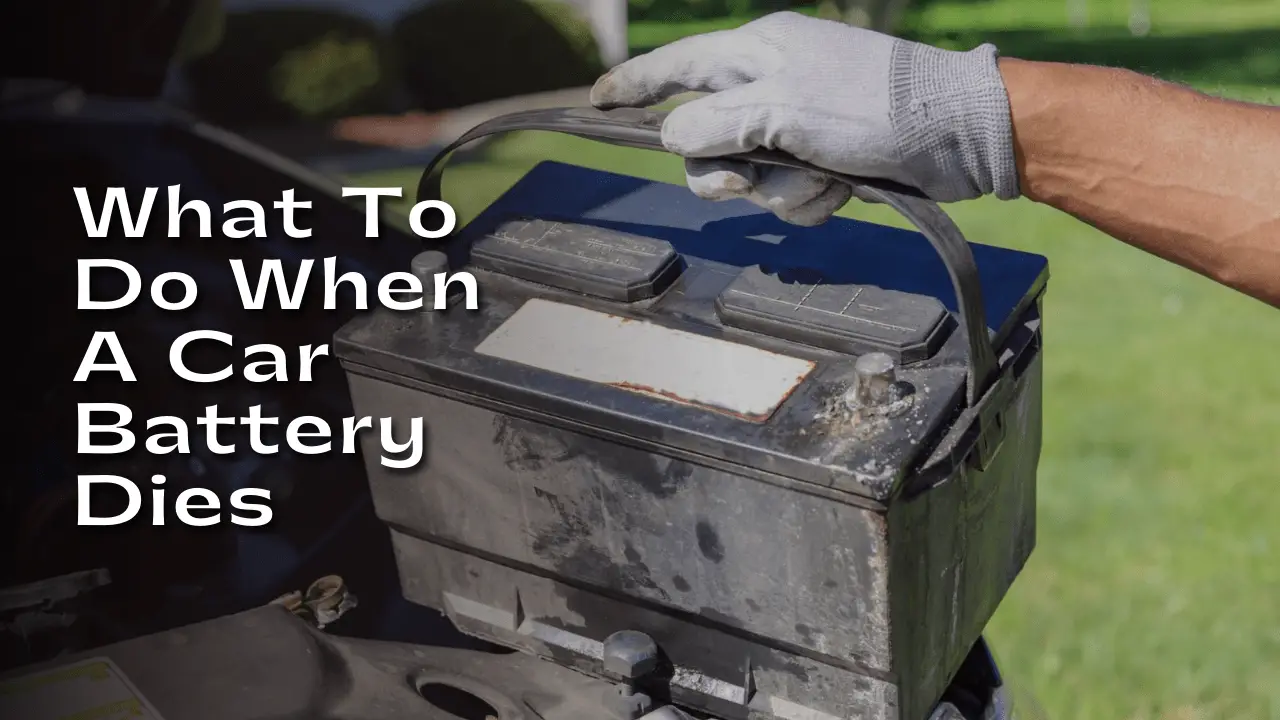
- The final step is to remove the battery from the engine bay. This is easier said than done because the battery can be quite heavy. Most batteries will weigh 30-60 pounds, so you need to be careful when picking this up and removing it.
- If the battery swings around and bangs into other things in the engine bay, it can cause damage, and of course, if you were to drop the battery, it could cause serious injury.
- The battery will have 2 handles that are tucked into the sides of the battery. Look for these handles and bring them up, so you have a good grip on the battery.
- Lift the battery just a little bit off the base that it is sitting on to get an idea of the weight. If you think you can safely handle the battery on your own, go ahead—otherwise, get someone to help you out.
Conclusion
If you have a sealed lead-acid battery, you can afford to tilt it a bit as you take it out. However, with a flooded lead-acid battery (the one with the caps on top of it), you want to keep it as straight as possible.
There is liquid (acid) inside the battery, and you don’t want it to move around inside the battery or have it pouring out from the exhaust holes on the caps. This battery acid can easily burn through clothes and can be quite uncomfortable if you get it on your skin.
When handling a car battery, whether that is a sealed or flooded type battery, whether it is a large or a small auxiliary battery, always use the right protective gear and follow the safety protocols outlined in this article.
If you are stuck at any point, if there is damage (swelling, leaking, visible damage to terminals) to the battery that you don’t know how to handle, it’s better to stop and do a bit of research about what you should do or contact your local auto parts store.
Alternatively, it would be a good idea to outsource the entire job to a professional. Car batteries are very high-power and high-voltage products, so you always need to be extra cautious when removing a battery or doing any other electrical work on your car.
Category: Batteries

One Reply to “How to Remove a Car Battery”
Comments are closed.