Drum brakes are a type of braking system commonly used in vehicles, especially in the…
1 January, 2023
4 Comments
1 category
For many years, drum brakes have been the foundation of modern braking systems. Although drum brakes have been replaced by newer and faster alternatives like four-wheel disc brakes, they are still widely used for their effective and long-lasting brake system.
If you have a vehicle with drum brake systems and are facing a delay in deceleration when you hit the brakes, then it’s high time to learn how to adjust drum brakes or a complete replacement altogether.
Below are some simple yet effective ways to adjust drum brakes with tools at your disposal.
Drum Brake System: Things To Know
Drum brakes are predominantly used in many vehicles – mainly in rear drum brakes and, in some cases, doubling as parking brake components. Drum brakes have been around since the 1900s and were patented by Louis Renault in 1902.
Due to its functionality and long service life, the drum brake system is used mostly on budget-friendly models. But this doesn’t mean they are inferior in any sense. The drum brake system uses friction caused by the set of brake shoes that presses against the hydraulic wheel cylinders.
When the brake pedal is pressed, the hydraulic wheel cylinders force the brake shoe pads against the surface of the revolving brake drum. This, in turn, creates friction and forces the vehicle to stop. Drum brakes provide more braking force than disc brakes.
These brakes generate less heat, less brake dust, and have a larger friction contact surface, despite being comparatively cheaper. Drum brakes are fitted into the backing plate of the rear wheel and are thus referred to as rear drum wheels. Now that we know the basic framework of a drum brake system let’s move on to the main components of drum brakes.
Main Components of Drum Brakes
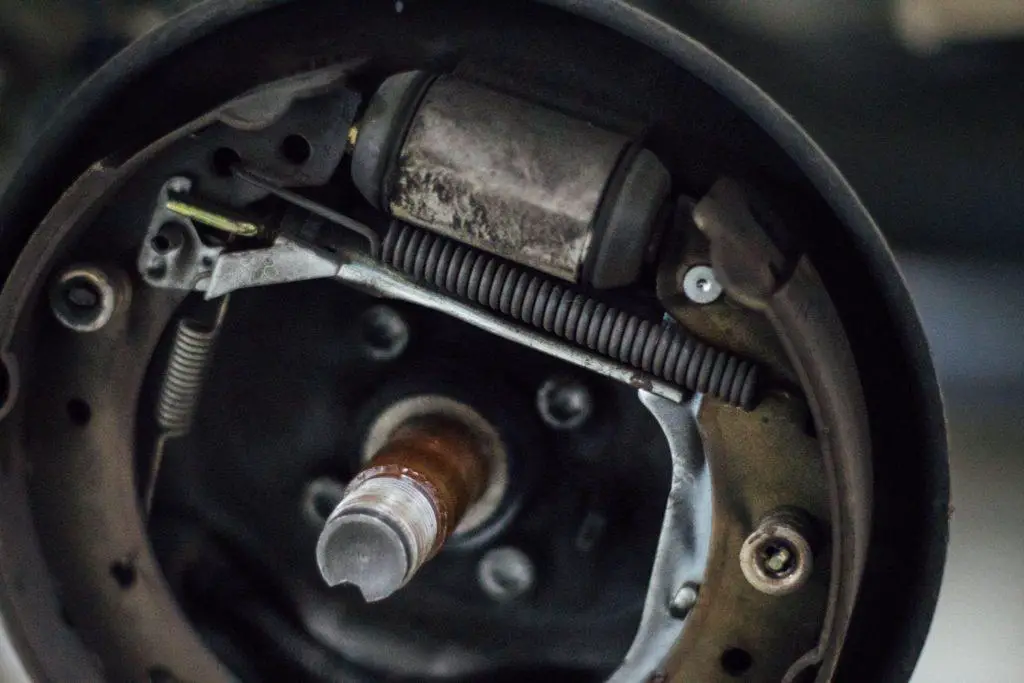
Before diving into the specifics of drum brake adjustment, we should first get familiar with the different components of a drum brake. Pay attention to this section, as you need to know the different components correctly before proceeding with the adjustment.
- Brake drum: These are large metal discs attached to the wheel’s hub.
- Brake shoe: Every drum has a pair of brake shoes fitted on the rear wheel.
- Wheel cylinder: This contains a piston that expands when the brakes are applied.
- Return/retracting spring: The spring pulls the brake shoes away from the friction surface when you release the pedal.
- Self-adjuster: Maintains the gap between the brake shoe and drum.
Refer to the image above to learn more about the components. Without further ado, let’s proceed to the steps involved in the brake adjustment assembly.
How To Adjust Drum Brakes
Drum brakes need to be adjusted for maximum efficiency. When brakes are not adjusted correctly, they can use the brake pads even before the brakes engage. Hence, it is imperative to make proper adjustments to prevent extreme issues or accidents.
Listed below are the steps for brake adjustment.
Step 1: Test the Self-Adjuster
By now, you already know what the self-adjuster does. Before you disassemble the brake system, it’s always recommended to test the self-adjuster.
Rear drum brakes are designed to adjust automatically under different driving conditions. To check if your brakes can auto-adjust, you can try driving and stopping in reverse, abruptly stopping several times. Alternatively, set and release the parking brake.
When the brakes feel more responsive, press down on the metal. This means that your self-adjuster is working, and you do not need to adjust it manually. However, if the parking brake lever is light and goes up freely, you need to adjust your brake shoes.
Step 2: Lift the Rear End of the Vehicle
Next, place the jack at the rear end of the vehicle to lift one side from the ground. To support the weight of the car, use a jack stand.
Repeat this process on the other side of the car and place the jack stand under the lifted vehicle. Make sure you are lifting the car in the presence of another person. Improper lifting can be risky, especially when doing it all alone. Check the manufacturer’s lifting instructions and lift the vehicle at the recommended points in the user manual.
Always support the weight of the car on jack stands – for safety purposes.
Step 3: Remove the Rear Wheels
When the vehicle is safely lifted, you can remove the wheels. Remember not to engage the parking brake when you are securing the vehicle.
Grab a lug wrench and loosen the rear lug nuts by turning it counterclockwise until it begins to spin. After unbolting the lug nuts, loosen them all the way and set them aside. Remove the rear wheels and repeat the process on the other side.
Step 4: Adjust the Drum Brakes
Look for the adjuster bolt or star wheel adjuster, which is located on the inner side of the wheel drum. Remove the rubber plug via a screwdriver to access the brake adjuster at the rear end.
Turn the brake adjuster clockwise or counterclockwise to adjust it to your preference. If it does not stop turning due to the pads hitting the drum, turn the star wheel adjuster in the other direction.
Note that a clockwise direction is usually preferred for most drum brake adjustments. When you push the adjuster downwards, the adjuster wheel moves upwards.
While some setups provide a bolt that you can use to adjust from the back of the plate, others have a hole in the carrier plate where you can insert a brake spoon into the star wheel. As you apply the spoon or screwdriver downwards, adjust the star wheel to bring the brake shoes closer to the drum. You can even use a flat screwdriver to turn the star wheel adjuster.
Step 5: Remove the Drum Brakes
If you can’t locate the star wheel adjuster, you will need to disassemble the brakes. Most brake drums have a bolt or two that usually pries the drum off the wheel hub.
Tightening this bolt forces the drum brakes to slide off the main frame. If the brake drum is rusted, lightly tapping the rim of the drum with a rubber mallet will loosen the rust buildup and get the brake drum out from the hub.
Step 6: Check the Condition of the Brake Shoes
Drum brakes are made up of many components within the brake system. After you remove the drum, check the condition of the drum shoes and bolts and make sure they are distributed evenly.
Assess the wheel cylinder and examine the interiors for brake fluid. Check if the adjuster is leaking with brake fluid and immediately replace it.
Make sure that the brake shoe is not damaged and has not undergone extreme wear and tear. The brake shoe should measure 3 mm. if yours is thinner, it should immediately be replaced.
Check if the star wheel adjuster, spring, and lever are functioning properly, and change out the parts that are damaged or leaking.
Step 7: Reassemble the Drum Brakes
When you are putting back the brake drum onto the hub, remember that the threaded holes should be correctly aligned. To prevent unnecessary binding, apply an anti-seize compound on the threaded adjusters and levers.
Install the brake drum in a spinning motion and move it outwards when it makes contact with the brake shoe. In short, the brake shoe and brake drum should have minimal contact.

Step 8: Adjust the Other Rear Drum Equally
Once you have evaluated the different parts of the rear drum, such as the star wheel adjuster, adjuster bolt, wheel cylinder, and axle. Repeat the exact process on the other rear wheel drum.
You should try to tighten the drum brakes equally for the best braking performance. You can do this by counting the number of clicks on the star wheel and comparing how the drum feels when you spin it forward.
Be sure to reinstall the rubber plug for each of the backing plates.
Step 9: Lower the Car
Once you have adjusted the drum brakes, lift the car high enough so that the jack stand can be dislodged from the vehicle. Once the jack stands are out of the way, lower the vehicle to the ground. Lower the vehicle on one side and move to the other side.
Step 10: Take Your Car for a Test Drive
Now it’s time to check if your hard work was worth it or not! Take your car on a test drive to a safe location and check if your drum brakes are functioning properly.
If your drum brakes are functioning, you’re good to go.
Conclusion
Adjusting your brakes now and then can prove beneficial in the long run. You can extend the lifespan of your drum brakes and check for rudimentary failures throughout the cycle.
Keeping your drum brakes adjusted properly will also help your front disc brakes last longer, as the front brakes will not be doing all the work.
If you feel uncomfortable performing this rigorous process on your own, you should hire an experienced technician.
FAQ’s
What tools do I need to adjust drum brakes?
A: To adjust drum brakes, you typically need a brake spoon or screwdriver to turn the adjuster wheel, a pair of pliers to remove the drum if necessary, and safety equipment like gloves and safety glasses. Always consult your vehicle’s manual for specific tools required.
How often should I adjust my drum brakes?
A: Many modern vehicles have self-adjusting drum brakes that don’t require regular manual adjustments. However, if your vehicle has manual drum brakes or the self-adjusting feature isn’t working correctly, you might need to adjust them every few months or whenever you notice a decrease in braking performance.
How do I know if my drum brakes need adjusting?
A: Signs that your drum brakes may need adjusting include the brake pedal going down too far or feeling spongy, the vehicle pulling to one side when braking, or clicking noise when you apply the brakes. If you notice any of these signs, it’s a good idea to inspect and adjust your brakes as necessary.
Can I damage my drum brakes by adjusting them incorrectly?
A: Yes, improperly adjusted drum brakes can lead to problems. If the brakes are too loose, they won’t work effectively, and if they’re too tight, they can overheat and wear out prematurely. It’s important to adjust the brakes so there’s a slight drag on the drum without the brakes locking up.
How do I adjust the drum brakes on my car?
A: To adjust drum brakes, you’ll typically need to locate the brake adjuster, which is accessible through a slot on the back of the brake assembly. Using a brake spoon or screwdriver, you can turn the adjuster wheel to either tighten or loosen the brakes. Always consult your vehicle’s manual for specific instructions.
Category: Brake Fluid
Related Posts
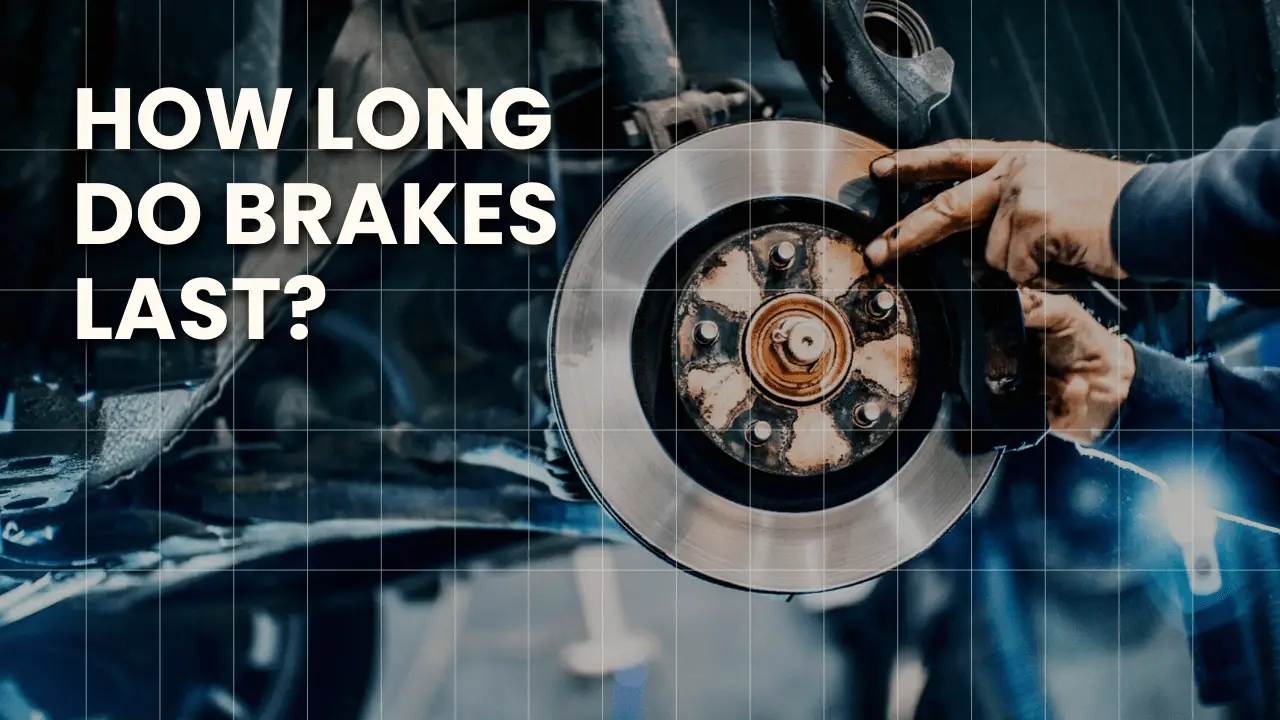
How Long Do Brakes Last? Learn 4 Best Tips to Brake Longevity.
When it comes to vehicle safety, few components are as…
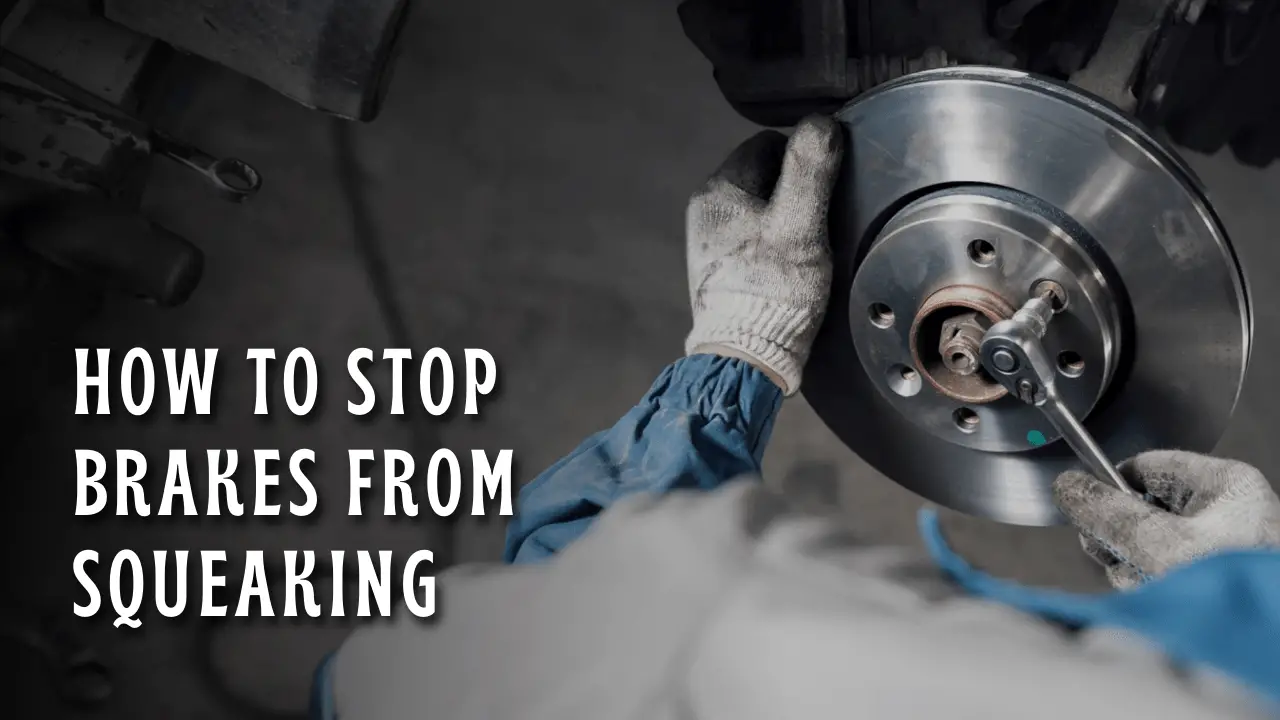
How To Stop Brakes From Squeaking?
Car owners often face the dilemma of unrelenting, squeaking brakes…
4 Replies to “How To Adjust Drum Brakes: Step-by-Step Guide for Top Performance”
Comments are closed.