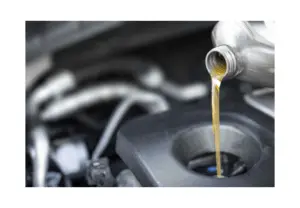
Engine Oil, Oil Filters, Oil Change Tools, and Oil Change Tips
Oil changes are a critical aspect of vehicle maintenance that often gets overlooked. They are necessary to ensure the longevity of your vehicle and keep it running smoothly. This article will delve into why oil changes are so important, when they should be done, and how to perform them.
Why Are Oil Changes Important?
The primary function of motor oil is to lubricate the various components of your vehicle’s engine, preventing metal-to-metal contact and subsequent wear and tear. It also helps to cool the engine parts by redistributing heat, reducing the risk of overheating. Moreover, it aids in keeping the engine clean by preventing the accumulation of dirt and sludge.
However, over time, oil can break down due to high operating temperatures, causing it to lose its effectiveness. As oil ages, it becomes thicker, dirtier, and less able to protect the engine. This can lead to increased wear on the engine parts, reduced fuel efficiency, and in extreme cases, complete engine failure.
When Should Oil Changes Be Done?
The frequency of oil changes can depend on several factors, including the type of oil you use, your driving habits, the age and make of your vehicle, and the conditions in which you drive.
Traditionally, it was recommended to change the oil every 3,000 miles or every three months, whichever came first. However, with advancements in oils and engines, many manufacturers now recommend longer intervals between oil changes. For example, many modern vehicles using synthetic oil can go between 5,000 to 7,500 miles, or even up to 10,000 miles, before requiring an oil change.
However, these are just guidelines. It’s best to refer to your vehicle’s owner’s manual for the manufacturer’s specific recommendations.
How to Perform an Oil Change
While many people opt to have their oil changed professionally, it’s possible to perform this task yourself with a few tools and a bit of time. Here are the steps:
- Gather Your Materials: You’ll need the right type and amount of oil for your vehicle, an oil filter, an oil filter wrench, a socket set, an oil catch pan, a funnel, and rags or paper towels.
- Prepare Your Vehicle: Park your vehicle on a level surface and put on the parking brake. For added safety, you can use jack stands or wheel chocks to prevent the car from moving.
- Drain the Oil: Position the oil catch pan beneath the oil drain plug. Using your socket set, carefully remove the drain plug and allow the oil to drain out. Be careful as the oil may be hot.
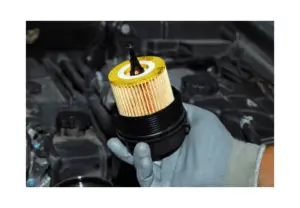
- Replace the Oil Filter: While the oil is draining, use your oil filter wrench to remove the old oil filter. Before installing the new filter, apply a bit of oil to the gasket on the top of the filter. This will help create a good seal. Then, screw on the new filter following the instructions on the filter box.
- Replace the Drain Plug and Add New Oil: Once all the oil has drained, replace the drain plug and tighten it securely. Then, using your funnel, pour the new oil into the oil fill hole.
- Check Oil Levels: Start the vehicle and let it run for a minute or two. This allows the new oil to circulate through the engine. Turn off the engine and wait a few minutes for the oil to settle, then check the oil level using the dipstick.
- Dispose of Old Oil Properly: Transfer the old oil from the catch pan to a sealable container and take it to a recycling facility or auto parts store for proper disposal.

Does My Car Need Synthetic Oil? Uncovering the Truth
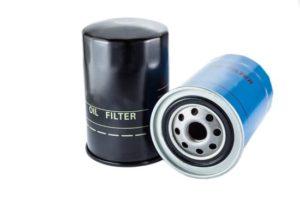
Are Oil Filters Universal? Debunking the Myth

Does High Mileage Oil Make a Difference

What Does High Mileage Oil Do – Exploring the Benefits and Applications
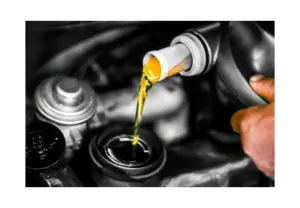
When Should I Use High Mileage Oil – A Comprehensive Guide

What’s Conventional Oil – Exploring the Foundations of Petroleum Production
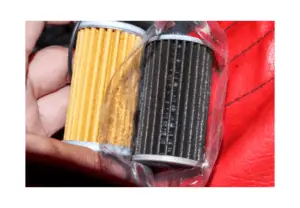
Cartridge Oil Filter – A Comprehensive Guide
Are All Oil Filters the Same? A Comprehensive Guide to Understanding the Differences
