If you have removed your battery from your vehicle, you should understand the right method to reconnect it safely.
That’s because it involves high battery power and one wrong step can damage your car’s electrical system badly. Plus, it can also be dangerous to your health.
That’s why we have come up with this guide that contains the right method on how to reconnect a car battery properly. Use each step carefully to complete the process safely and effectively.
Jump To
- 1 Why Do You Need to Remove Car Battery?
- 2 Reconnecting a Car Battery: Step-by-Step Method
- 2.0.1 Step 1: Prepare for the Process
- 2.0.2 Step 2: Remove Keys from the Ignition
- 2.0.3 Step 3: Inspect the Battery Cables
- 2.0.4 Step 4: Clean the Battery Terminal Posts and Battery Tray
- 2.0.5 Step 5: Apply Corrosion Protection Material
- 2.0.6 Step 6: Place the Battery in the Battery Tray
- 2.0.7 Step 7: Install the battery Clamp
- 2.0.8 Step 8: Connect the Cables to the Battery Terminals
- 2.0.9 Step 9: Test the Battery
- 3 Final Words
Why Do You Need to Remove Car Battery?
There are multiple reasons why you need to disconnect and remove your car battery in the first place.
Most commonly, a battery is removed from the car when it has died and can’t be recharged anymore. In such a case, you’ll need to buy a new car battery and connect it after removing the first one.
People also need to remove their car batteries because of corrosion build-up. Removing the battery will help you clean the battery tray, battery terminals, and hold-down clamp properly.
Reconnecting a Car Battery: Step-by-Step Method
Whether you need to install a new battery or have removed the existing one for any reason and need to reconnect it, consider using the steps listed below.
Step 1: Prepare for the Process
The first step is to prepare yourself for the process. It starts by wearing protective eye gear and a pair of leather or latex gloves.

https://pixabay.com/photos/working-gloves-work-gloves-handyman-3552744/
This is especially true if your vehicle uses a lead-acid battery as it contains acid that can hurt you. In addition, gloves will also protect you from pinches and scratches.
Once you’ve worn the safety gear, gather all the supplies you’ll need to clean the process, including the following:
- Wrench kit
- Socket wrench
- Brush Wire
- Baking soda
- Water
- Microfiber cloth/dry towel/rag
Step 2: Remove Keys from the Ignition
The next step is to remove your car keys from the ignition. It’s also important to ensure that no car electronic accessory is turned on. It’ll prevent the battery from supplying power to all the accessories immediately as you reconnect it, which can lead to a power surge that can cause damage.
Keep in mind that you’ll need to remove the keys. That’s because many cars switch on the door chime in many modern vehicles as soon as you insert the car key into the ignition.
Step 3: Inspect the Battery Cables
There are two cables in your engine block that connect to the car battery. One of them is typically red and you connect it to the positive terminal of the battery. This is the cable that’s connected to the engine’s alternator.
The second cable usually has black color and it’s connected to the negative battery terminal. This negative cable is also known as ground cable and it’s connected to the body of the car (some metal part).
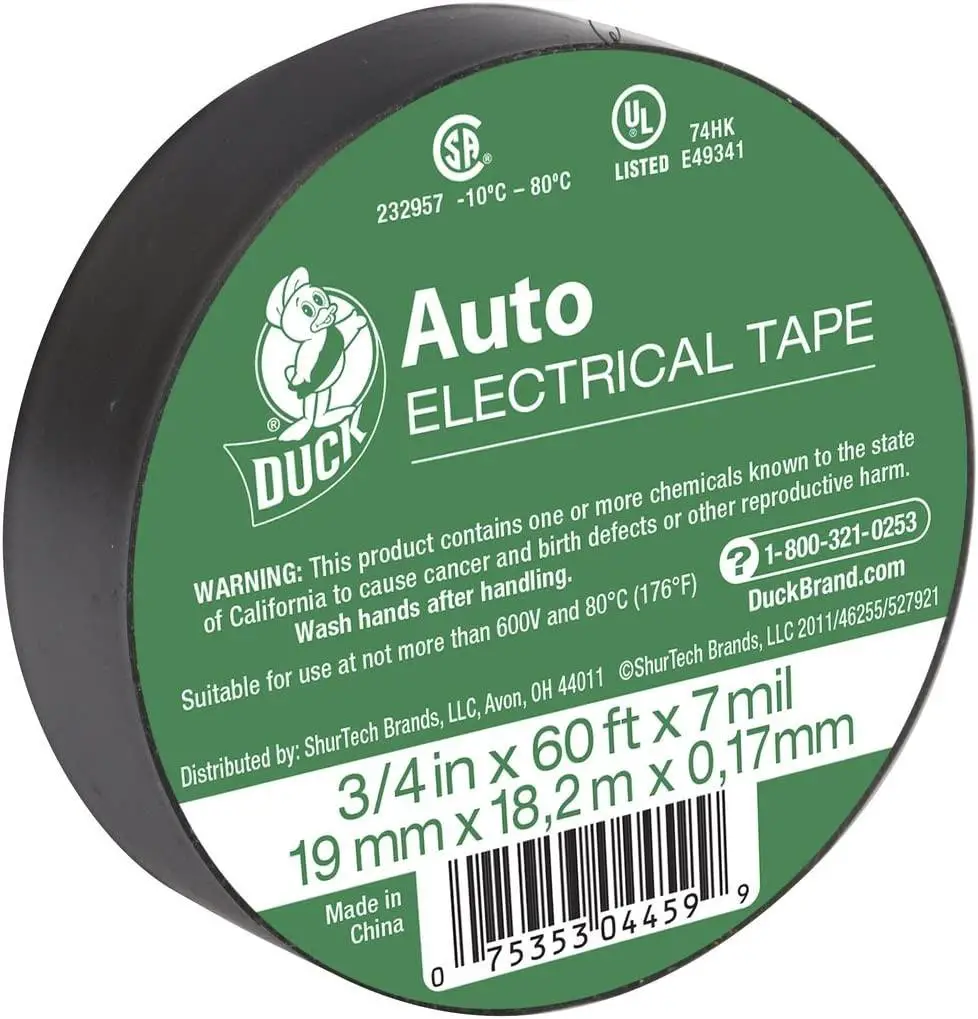
Inspect both of these cables carefully to find out if there are any signs of damage or wear. If just the isolation covering of these wires is damaged, you can apply an electrician’s tape to cover them. However, if the wires are cracked or damaged, replace them with new ones.
Step 4: Clean the Battery Terminal Posts and Battery Tray
If you’ve bought a new car battery, you won’t need to clean its battery terminals. However, if you’re reconnecting an old battery, inspect its terminal posts carefully. If they have corrosion, make sure that you clean them properly. Otherwise, the electrical supply might not pass through them to reach the battery cables.
To clean the battery terminals, create a solution of baking soda and water by mixing 1 tablespoon of baking soda and 2 cups of fresh water in a bowl. This mixture will have anti-corrosion properties and it’ll be abrasive enough to remove corrosion buildup properly.
Apply a small amount of the mixture to the terminals and use the wire brush to clean them. Next, inspect the battery tray for the residue of corrosion build-up and use a rag or microfiber cloth to get rid of it.
You’ll also need to check the ends of your battery cables because they’ll also have corrosion residue if your battery terminals were corroded. Use the same technique to clean them as well.
Then you can use a dry towel or microfiber cloth to remove moisture from all these parts. Don’t move to the next step until all these components are fully dry.
Step 5: Apply Corrosion Protection Material
Once everything has dried, apply a corrosion protection material or dielectric grease to battery cable connectors and terminals. The corrosion protection material is also known as battery terminal protectors and you can easily purchase it from your local auto-part store.
Make sure that you buy an electrically conductive material and apply it generously on these parts. Then, you can use a rag to wipe off the excess material (if any).
Step 6: Place the Battery in the Battery Tray
Place a rag on top of the battery cables away from the battery tray to make sure they don’t get in the way while you’re placing the battery.
Now pick up the battery and place it in the battery tray. Use both hands to lift and lower the unit and safely position it in its place. That’s because car batteries are heavier than they look and usually weigh around 40 pounds.
It’s also advisable to look at the battery tray before lifting the battery to make sure nothing is sitting in it. Plus, be mindful to orient the battery correctly so that the negative terminal is towards the negative battery cable (the black one) and the positive terminal is close to the red/positive cable.
The negative terminal will have the “minus” sign and you’ll see a “plus” sign beside the positive terminal post.
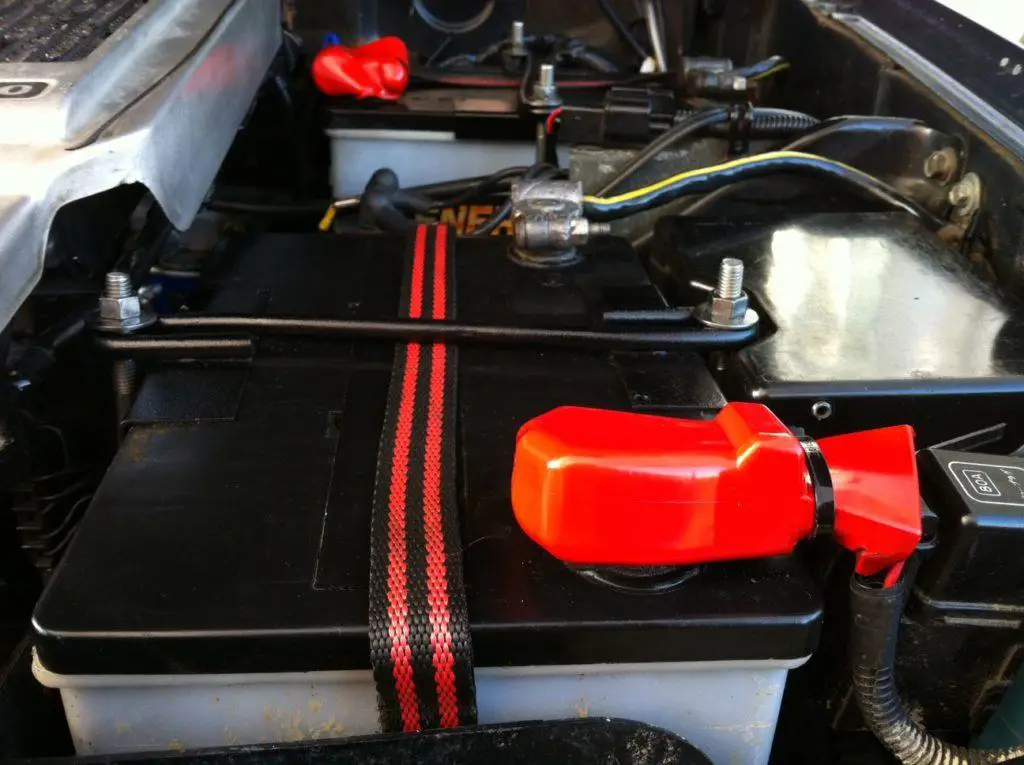
Step 7: Install the battery Clamp
Once the battery is in its place, install the clamp, also called battery hold-down, to secure the battery. You might need to use a socket wrench to tighten the clamp’s bolt. However, some vehicles come with a big bolt that you can tighten using your hands.
It’s important to note that some vehicles also come with a rubber strap, instead of a bolt, and you need to pull it over the battery to secure it on the other side.
If you’re not sure how to secure the battery in place, read the user manual of your vehicle to find out the right method. Don’t use the trial-and-error technique as it might lead to an expensive repair.
Step 8: Connect the Cables to the Battery Terminals
After securing the battery properly, the next step is to connect the cables to the battery terminals. It’s the most critical step of the entire step and you need to perform it with extra care and patience.
Remove the positive battery cable (in red color), secured underneath the rag, and slide it onto the positive terminal. You’ll need to push the connector of this cable gently to make it sit flat against the battery.
If you fail to slide the connector easily, don’t force it. Instead, pick up the right size wrench from your wrench kit to loosen the bolt (counterclockwise) located on the connector.
It’ll allow you to place it in its position easily. After that, use the same wrench to tighten the connector’s bolt by turning it clockwise. Use the same technique to attach the black battery cable to the negative post.
Now wiggle both of the cables using your dominant hand to make sure they’re secure. If you notice that the connector(s) is moving, tighten the bolt(s), but avoid over-tightening.
Step 9: Test the Battery
Once you have successfully reconnected the battery, go inside your car, insert the key into the ignition and turn it once. With the battery connected, the dashboard light should come on. If it does, start the engine to make sure that everything is working properly.
If the engine doesn’t turn on and you don’t see any lights, it means that you didn’t connect the wires properly. Double-check the connection and try it again.
If it still doesn’t work, you might have a dead battery that needs to be charged. In this case, you’ll need to charge the battery to solve the problem.
Final Words
Although reconnecting a car battery isn’t a difficult task, there are many small details that you need to keep in mind to complete the process safely and effectively.
The most important thing to keep in mind during the entire process is to connect the red cable to the positive terminal before connecting the black one to the negative post.
If you hook up the negative connection first and then try to connect the red cable to the positive terminal and your tool mistakenly touches any metal part of the body, it’ll complete the circuit and generate a nasty spark.
Not only can it hurt you but it can also damage your vehicle’s electrical system badly. Lastly, don’t forget to ensure your safety before starting the process to avoid any unwanted scenarios.
3 thoughts on “How To Reconnect a Car Battery”
Comments are closed.